Haben Sie sich jemals gefragt, was eine Klauenmaschine so knifflig und zugleich faszinierend macht?? Wie schnappt man sich den Preis?, nur um es in letzter Sekunde fallen zu lassen? Das Geheimnis liegt in der präzisen Designmischung, Maschinenbau, und Technologie, die in die Herstellung dieser Maschinen einfließt. Von der ersten Entwurfsphase bis zur endgültigen Installation, Jeder Schritt im Herstellungsprozess spielt eine entscheidende Rolle, um diese Maschinen zum Leben zu erwecken. In diesem Artikel, Wir ziehen den Vorhang zurück und enthüllen, wie Klauenmaschinen hergestellt werden, Hervorhebung der wichtigsten Phasen vom Entwurf bis zur Einrichtung.
Schritt 1: Design und Anpassung
Entwerfen Eine Klauenmaschine beginnt mit einer leeren Tafel. Es geht darum, zu verstehen, was Sie wollen. Erste, Sie sammeln wichtige Details: Wer wird die Maschine benutzen?? Wie hoch ist das Budget?? Wo wird es platziert?? Welche Funktionen sind wichtig?? Sobald Sie diese Antworten haben, Der nächste Schritt ist die Planung. Ein 2D-Layout hilft Ihnen, die Größe herauszufinden, Stil, und Anzahl der für den Raum benötigten Maschinen.
Von dort, Sie gehen zur Entwurfsphase über – Sie skizzieren Ideen und verfeinern das Konzept. Später, Es entsteht ein 3D-Design, Geben Sie dem Kunden eine detaillierte Vorschau auf das, was auf ihn zukommt. In diesem Stadium, Sie können Anpassungen vorschlagen, bevor Sie das Design fertigstellen. Mit dem Plan in der Hand, Du kannst weitermachen, Sie wissen, dass die Maschine sowohl zum Raum als auch zu den Anforderungen des Unternehmens passt. Hier beginnt der Spaß!
Schritt 2: Materialauswahl
Die Auswahl der richtigen Materialien ist wie die Auswahl der richtigen Zutaten für ein Rezept. Der Herstellung von Klauenmaschinen Der Prozess beginnt mit der Auswahl von stark, langlebige Materialien, die lange halten. Der Rahmen? Aus Stabilitätsgründen besteht es aus Stahl oder Aluminium. Die äußere Hülle? Sie bestehen oft aus Glas oder hochwertigem Kunststoff, Kunden können einen Blick ins Innere werfen und gleichzeitig die inneren Teile schützen.
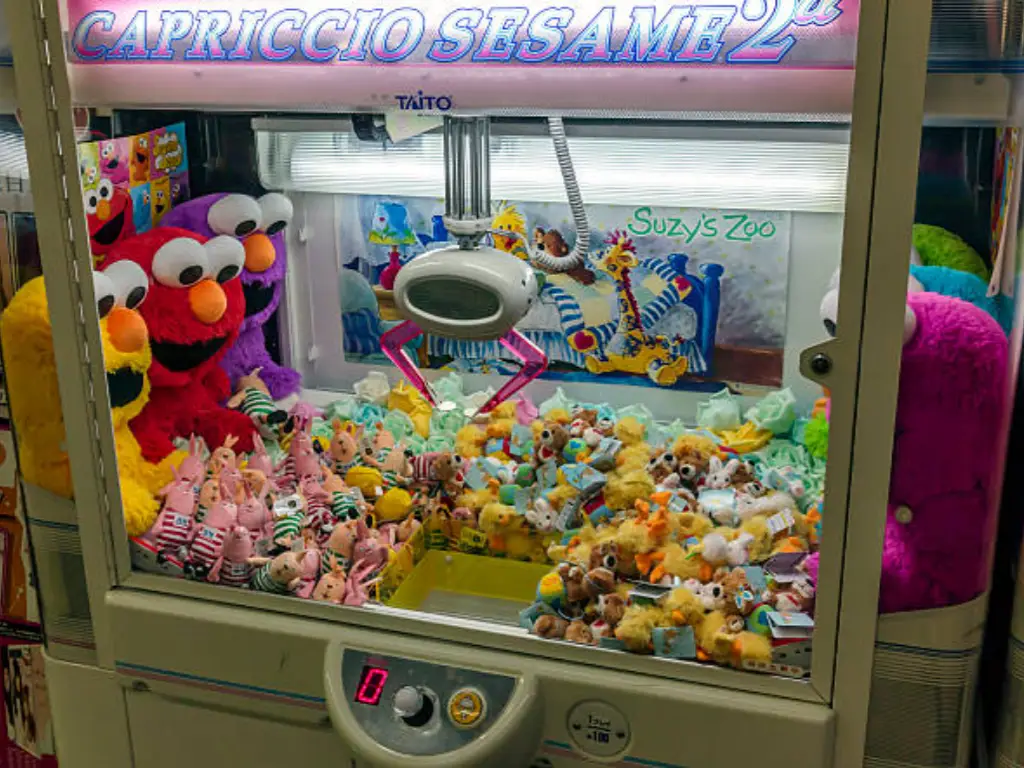
Im Inneren der Maschine, Wesentliche Teile wie die Krallen sind aus Metall gefertigt, während Motoren und Anschlüsse auf langlebige Leistung ausgelegt sind. Wenn es um den Preisbereich geht, Plüschtiere aus weichem Stoff, Sichere Stoffe wie Polyester oder Minky sind die erste Wahl. Die Füllung besteht aus leichter Polyesterfaserfüllung, Stellen Sie sicher, dass die Preise weich, aber nicht zu schwer sind. Wenn Sie Plüschtiere beschaffen, Viele Anbieter bieten Plüschtiere, hergestellt in China, wo Qualität und Kosten für den Großeinkauf perfekt zusammenpassen. Bei der Wahl des richtigen Materials wie beim Bau eines soliden Fundaments vor dem Bau eines Hauses – jedes Teil hat seinen Platz.
Schritt 3: Herstellung von Kernkomponenten
Jetzt, Es ist Zeit, das Herzstück der Maschine zu bauen. Wie funktionieren Klauenmaschinen?? Die Antwort liegt in der Präzision der mechanischen Komponenten.
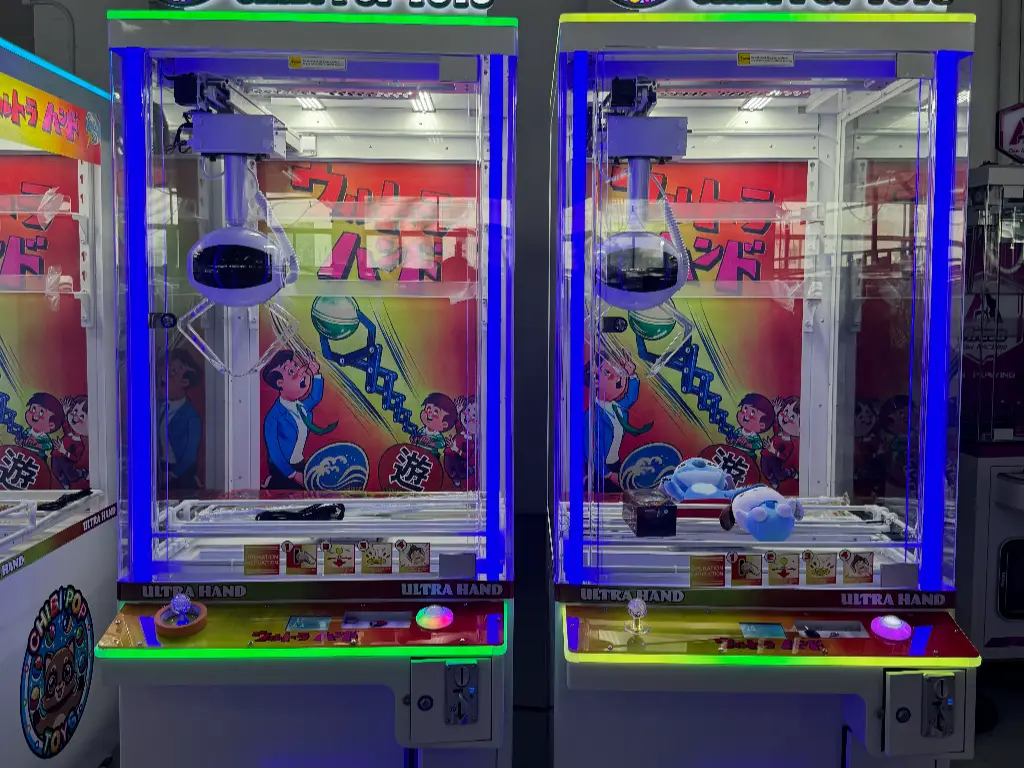
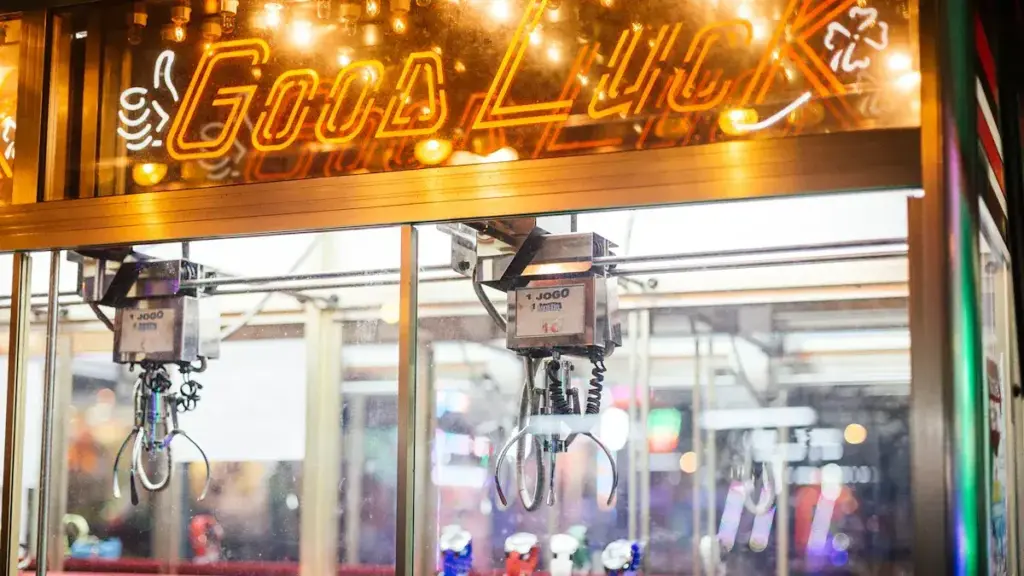
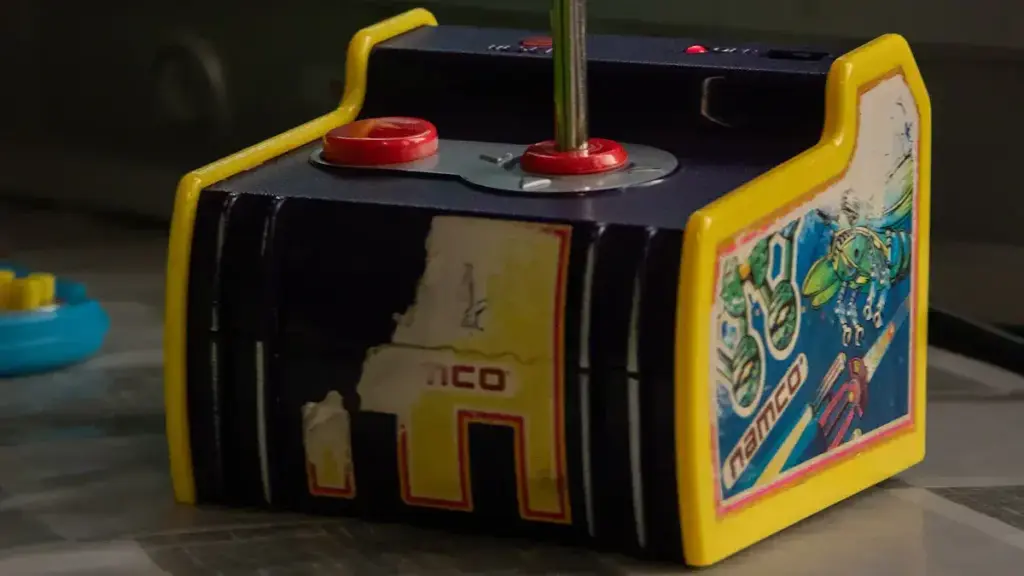
Die Klaue: Präzision und Stärke
Die Klaue selbst verfügt über drei Metallzinken, mit denen Preise präzise erfasst werden können. Diese Zinken werden von einem Servomotor gesteuert, der ein festes Öffnen und Schließen der Klaue ermöglicht. Die zum Greifen verwendete Kraft wird sorgfältig kalibriert, ensuring a balanced challenge for players. Die Fähigkeit der Klaue, einen Preis aufzunehmen und festzuhalten, ist für das Spielerlebnis von entscheidender Bedeutung.
Motoren und Sensoren: Die Aktion vorantreiben
Motoren sind die Kraftpakete der Klauenmaschine, Bewegen Sie die Klaue horizontal und vertikal. Schrittmotoren, wie Nema 17, Steuern Sie diese Bewegungen präzise. Sensoren verfolgen die Position der Klaue, Bereitstellung von Echtzeit-Feedback an das System und Gewährleistung eines reibungslosen Ablaufs, kontrollierte Bewegung während des Spiels.
Der Rahmen und das Gehäuse: Gebaut, um zu dauern
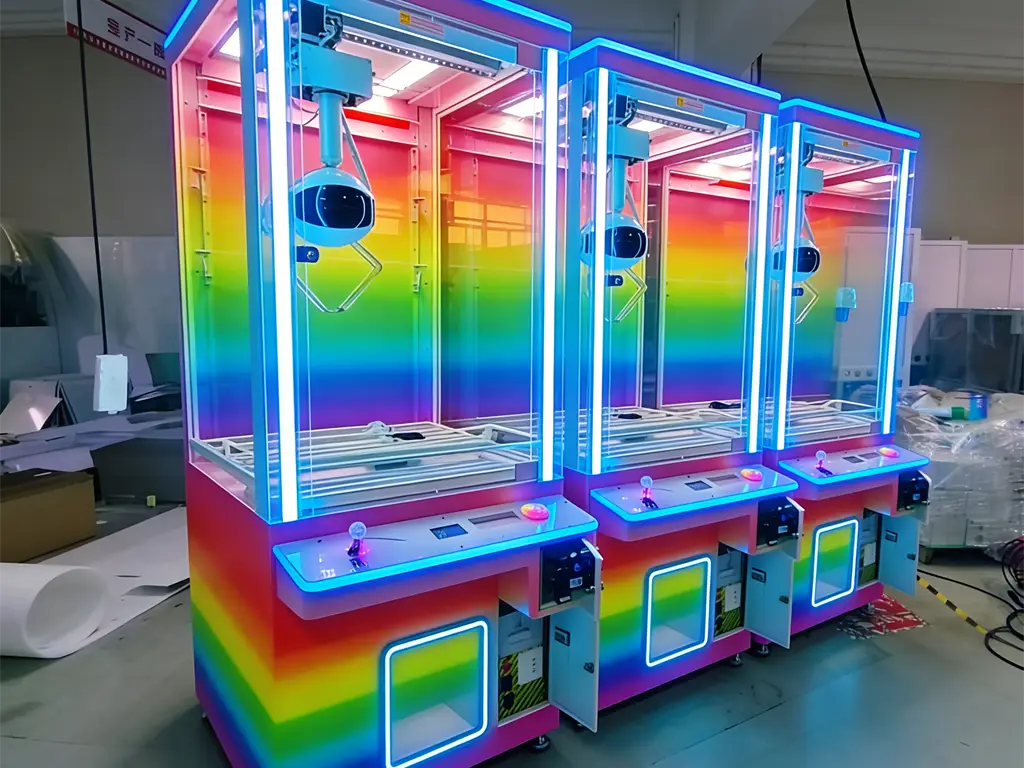
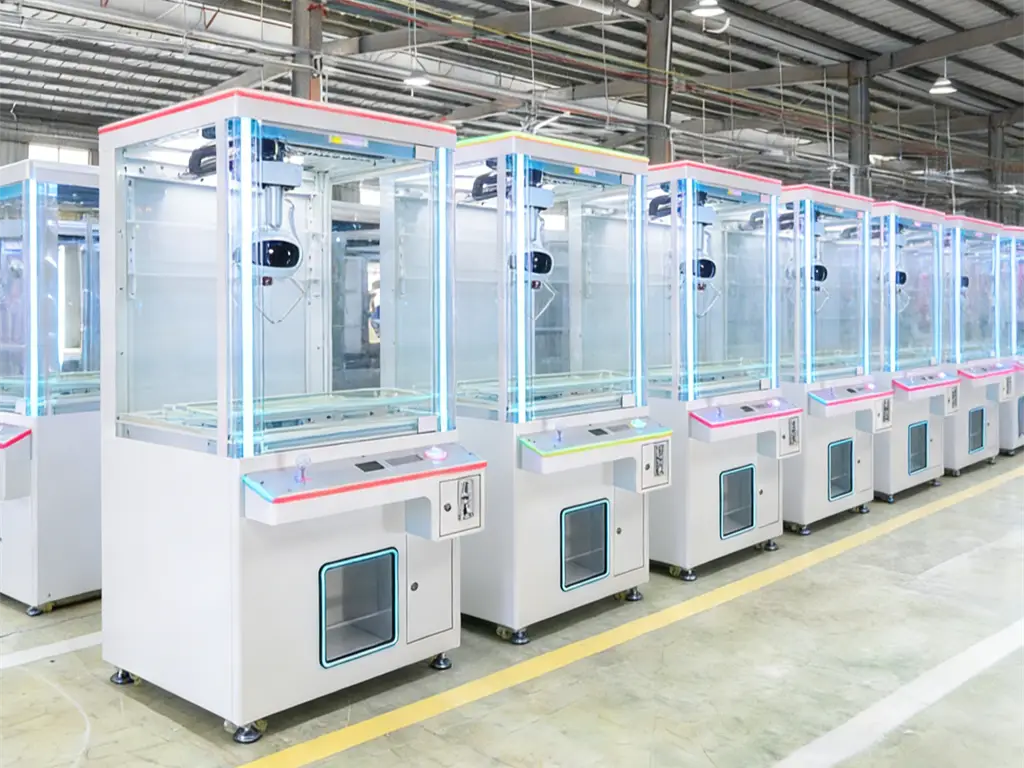
Nächste, Rahmen und Gehäuse entstehen. Der Rahmen, typischerweise aus Stahl oder Aluminium gefertigt, verleiht der Maschine ihre Stärke und Stabilität. Die Außenhülle besteht häufig aus Glas oder hochwertigem Kunststoff, Bietet Sichtbarkeit und schützt gleichzeitig die internen Komponenten. Diese Materialien stellen sicher, dass die Klauenmaschine einer starken Beanspruchung standhält, ohne ihre Leistung zu beeinträchtigen.
Für einen tieferen Blick auf das Wesentliche Teile einer Klauenmaschine, Entdecken Sie, wie die einzelnen Komponenten zusammenarbeiten, um den Spielern ein fesselndes Erlebnis zu bieten.
Schritt 4: Assembly Process
Hier kommt der spannende Teil – der Zusammenbau. Beim Zusammenbau nimmt die Klauenmaschine Gestalt an. Jeder Schritt wird sorgfältig geplant und ausgeführt, um sicherzustellen, dass alles perfekt zusammenpasst, vom Rahmen bis zum letzten Schliff.
Aufbau des Rahmens und Einrichten der Paneele
Der erste Schritt besteht darin, den Rahmen mit genauen Maßen zu zeichnen und zu planen. Sobald der Entwurf fertiggestellt ist, Der Rahmen ist montiert, Erstellen der Kernstruktur der Maschine. Anschließend werden Acrylplatten hinzugefügt, Bietet Sichtbarkeit und schützt gleichzeitig die Innenteile.
Installieren der mechanischen Komponenten
Nächste, die entscheidenden mechanischen Teile – wie zum Beispiel die Klaue, Motoren, und Steuerplatine – installiert sind. Die Klaue ist mit ihrem Motor verbunden, und die Verkabelung wird sorgfältig verlegt, um sicherzustellen, dass alles zusammenarbeitet. Die Motoren sind mit der Steuerung verbunden, Es regelt die Bewegung der Klaue und sorgt für einen reibungslosen Betrieb.
Verkabelung und Fertigstellung der elektrischen Komponenten
Mit den Hauptkomponenten an Ort und Stelle, Es ist Zeit, die Maschine zu verkabeln. Dabei werden die Motoren angeschlossen, Servos, Joystick, Tasten, und Stromversorgung. Die Verkabelung muss sauber und organisiert sein, um Störungen oder elektrische Probleme zu vermeiden. Zusätzlich, fotoelektrische Sensoren werden installiert, um die Position der Klaue zu verfolgen und präzise Bewegungen zu gewährleisten.
Zusätzliche Funktionen installieren
Endlich, der letzte Schliff wird hinzugefügt. Dazu gehört auch der Einbau von Leuchten, um das Erscheinungsbild der Maschine zu verbessern, Anbringen von Aufklebern zum Branding, und Einrichten der Lautsprecher für Soundeffekte. Sobald alles vorhanden ist, Der Kranmechanismus ist installiert, Abschluss der Einrichtung.
Es ist wie beim Aufbau eines Netzwerks – alles muss miteinander kommunizieren. Jedes Teil ist sorgfältig integriert, um sicherzustellen, dass die Klauenmaschine wie vorgesehen funktioniert, bereit für Tests und Qualitätskontrolle.
Schritt 5: Software-Integration
Dann, Es ist Zeit, das Gehirn der Maschine zu programmieren. Die Spiellogik steuert, wie sich die Klaue bewegt, wenn es packt, und wie oft lässt es los. Der Schlüssel liegt darin, die richtige Balance zu finden. Wenn die Auszahlungsrate von Klauenmaschinen ist zu hoch, Spieler werden zu oft gewinnen, und die Maschine wird keinen Gewinn machen. Wenn es zu niedrig ist, Spieler könnten frustriert sein und aufhören zu spielen. Typischerweise, Die Auszahlungsrate liegt zwischen 20% Und 40% um das Spiel spannend, aber fair zu halten.
Der nächste Schritt besteht darin, die Steuerungen zu testen. Dazu gehört auch, dass der Joystick reibungslos reagiert, und die Tasten lösen die richtigen Aktionen aus. Sobald das System eingerichtet ist, Die Software wird mehrfach getestet, um sicherzustellen, dass alles wie gewünscht funktioniert, von der Bewegung der Klaue bis zum Auszahlungszyklus.
Schritt 6: Qualitätskontrolle
Bevor die Maschine das Werk verlässt, Es wird einer strengen Qualitätskontrolle unterzogen, um sicherzustellen, dass es den höchsten Standards entspricht. So funktioniert der Prozess:
- Funktionstests: Testen Sie die Klaue, um sicherzustellen, dass sie greifen kann, freigeben, und Preise ohne Fehler fallen lassen.
- Motorkalibrierung: Überprüfen Sie, ob sich die Motoren reibungslos bewegen und schnell reagieren.
- Tasten- und Joystick-Test: Drücken Sie alle Tasten und bewegen Sie den Joystick, um zu überprüfen, ob sie wie erwartet funktionieren.
- Überprüfung der Verkabelung und Anschlüsse: Überprüfen Sie alle Kabel und Anschlüsse auf Sicherheit, Stellen Sie sicher, dass keine losen Verbindungen oder freiliegenden Drähte vorhanden sind.
- Sicherheitskonformität: Befolgen Sie die Arcade-Standards, um sicherzustellen, dass der Automat für Spieler sicher ist. Suchen Sie nach scharfen Kanten oder losen Teilen.
- Sensor- und Griffeinstellungen: Testen und passen Sie die Sensoren und den Klauengriff an, um ein faires Gameplay zu gewährleisten.
Sobald alle Tests abgeschlossen sind und Anpassungen vorgenommen wurden, Die Maschine ist versandbereit, Gewährleistung, dass sowohl Funktionalität als auch Sicherheit dem Standard entsprechen.
Schritt 7: Verpackung und Versand

Um eine sichere Lieferung zu gewährleisten, Eine ordnungsgemäße Verpackung ist unerlässlich. So wird es gemacht:
- Hochleistungskisten: Die Maschine ist in einer stabilen Kiste untergebracht, mit Polsterung zum Schutz des Schrankes.
- Verankerung der Basis: Die Basis ist sicher verankert, um ein Verrutschen während des Transports zu verhindern.
- Interne Teile stabilisieren: Zur Stabilisierung von Bildschirmen werden Schaumstoffblöcke oder -gurte verwendet, Leiterplatten, und andere empfindliche Komponenten.
- Sichern der Verkabelung: Die Kabel sind organisiert und mit Kabelbindern gesichert, um Schäden zu vermeiden.
- Schutz zerbrechlicher Teile: Bedienfelder und andere empfindliche Teile werden in Luftpolsterfolie oder Schrumpffolie eingewickelt.
- Ausbau der Münztür: Wenn möglich, Die Münztür wird entfernt und für zusätzlichen Schutz separat verpackt.
- Verpackung von Plüschtieren: Spielzeug ist in stabilen Kartons mit Luftpolsterfolie verpackt, und vakuumversiegelte Beutel halten sie trocken und kompakt.
- Klare Etiketten: Jede Kiste ist deutlich mit Handhabungshinweisen gekennzeichnet, inklusive „Fragile“-Aufkleber, um eine sorgfältige Handhabung zu gewährleisten.
Dieser sorgfältige Verpackungsprozess stellt sicher, dass jedes Teil der Klauenmaschine unversehrt und betriebsbereit ankommt.
Schritt 8: Installation und Support
Während Schritt 4 Der Schwerpunkt liegt auf der Montage und Integration der internen Komponenten der Klauenmaschine, Schritt 8 dreht sich alles um die endgültige Einrichtung und die Sicherstellung, dass die Maschine in ihrer Betriebsumgebung einsatzbereit ist. Sobald die Maschine am Zielort angekommen ist, es wurde sorgfältig an seinen Platz gebracht. Der erste Schritt besteht darin, es an die Stromversorgung und ggf. an Netzwerksysteme anzuschließen.
Nächste, Es wird eine gründliche Prüfung durchgeführt, um sicherzustellen, dass die Maschine unter realen Bedingungen ordnungsgemäß funktioniert. Dazu gehört auch das Testen der Steuerungen, Motoren, und Auszahlungssysteme. Eventuelle Anpassungen in letzter Minute werden vorgenommen, sorgt dafür, dass alles reibungslos läuft. Endlich, Die Maschine wird gründlich gereinigt, und ordnungsgemäße Dokumentation, wie Benutzerhandbücher und Garantieinformationen, bereitgestellt wird. Auch laufender Support und Wartung werden organisiert, Dadurch wird gewährleistet, dass die Maschine für den langfristigen Einsatz in einem optimalen Zustand bleibt.
Abschluss
Vom Entwurf bis zur Installation, Der Herstellungsprozess von Klauenmaschinen ist eine präzise Mischung aus Ingenieurskunst und sorgfältiger Planung. Jede Stufe, Von der Auswahl der richtigen Materialien bis hin zur abschließenden Qualitätsprüfung, sorgt dafür, dass die Maschinen sowohl langlebig als auch zuverlässig sind. Egal, ob Sie nach langlebigen und zuverlässigen Klauenmaschinen suchen oder nach der richtigen Klauenmaschinenfabrik in China suchen, Du kannst vertrauen TongruDie Maschinen von s sorgen für dauerhafte Leistung und Erfolg für Ihr Unternehmen.