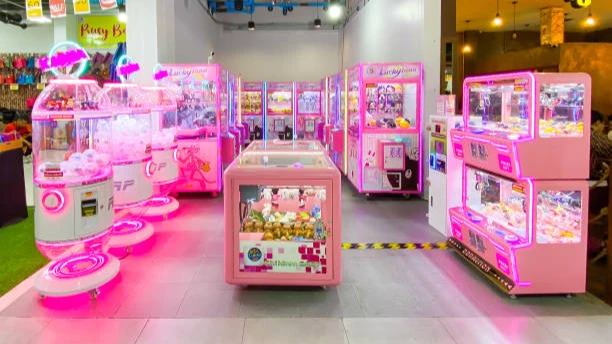


A claw machine order is easy to place and surprisingly easy to install badly. The machines arrive fully assembled, a pallet jack moves them into position. In practice, installation day stalls on details that were never measured: an aisle that ends up too narrow for two players to pass, a ceiling fixture that blocks the top hatch, a single wall socket expected to feed eight machines. None of these are exotic problems. They are floor-plan details, and every one of them is checkable on paper before the container ships.
This guide walks through the five physical requirements that decide whether installation is routine or painful: cabinet footprint, aisle clearance, ceiling height, power drops and circuit load, and floor loading. Work through them in order and you will hand your electrician and fit-out crew a plan they can actually build to.
Why Floor-Plan Details Cause Installation Delays为什么楼层平面图细节会导致安装延误
Most installation problems are easy to spot on a measured floor plan but difficult to solve after the machines arrive. The issue is rarely the machine itself. It is usually the relationship between the machine, the building, and the space around it.
Three areas deserve particular attention:
- Blocked top access: Many commercial claw machines require access from the top for prize loading or maintenance. A fixed bulkhead, duct, sprinkler line, or light fitting directly above the cabinet can make routine servicing difficult.许多商用机械设备的操作面板都需要从顶部进入,以便进行设备的装载或维护工作。而位于设备上方固定位置的舱口、管道、喷水系统或照明装置会使得日常维护变得困难。
- Poor power planning: A row of machines needs more than a convenient wall socket. Power points should be positioned so cables remain accessible without forcing staff to move heavy cabinets. A row of machines needs more than a convenient wall socket. Power points should be positioned so cables remain accessible without forcing staff to move heavy cabinets.
- Reduced aisle space: Machine counts often increase during planning, and aisle space is usually where the extra machines are added. The result can be a layout that works for the machines but feels crowded for players.
The simplest solution is to draw the venue to scale before ordering. Use the actual cabinet dimensions, mark doors and fixed obstacles, then plan player areas, aisles, power points, and service access around them.
Machine Footprint and Aisle Clearance
Typical Cabinet Footprints by Class
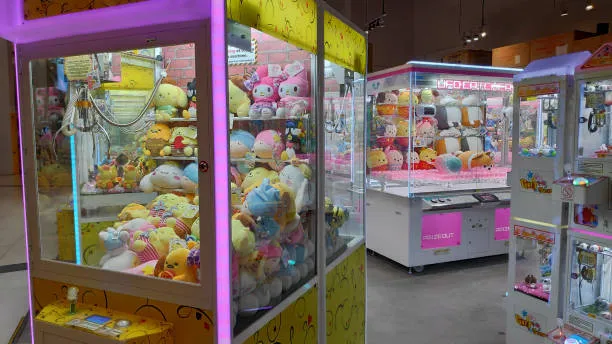
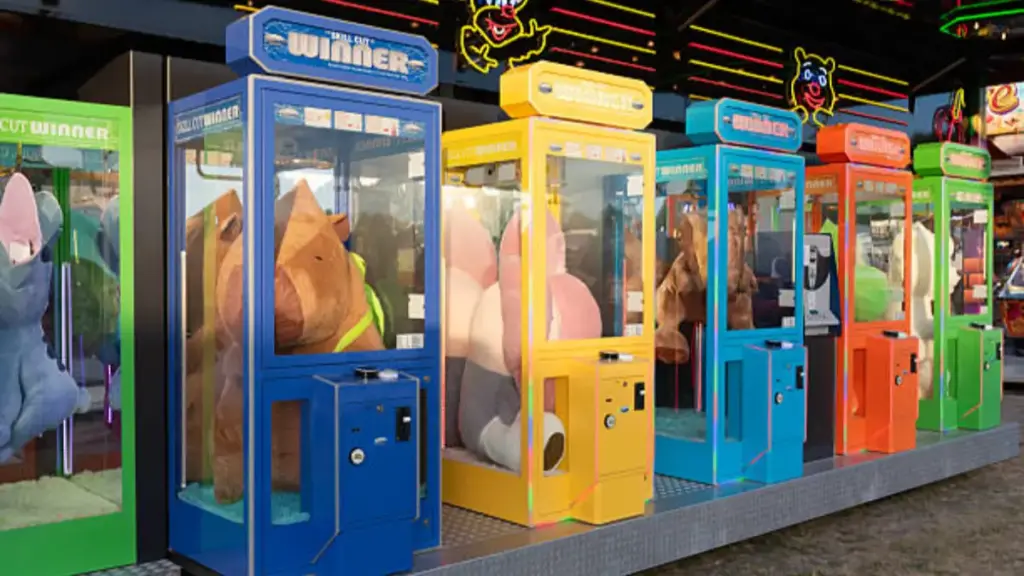
Claw machines come in different sizes, so there is no single footprint that works for every project. Mini and countertop units may use shelves or counters, while standard cabinets require dedicated floor space. Multi-player and life-size machines can take substantially more width and may need to become the main features of a layout rather than being placed between smaller cabinets.
The supplier’s specification sheet should be the starting point for every floor plan. Confirm the cabinet’s actual width, depth, and height instead of estimating from a typical machine size.
A simple planning table can help:
| Machine Class | Planning Consideration | Key Dimension to Confirm |
|---|---|---|
| Mini / Countertop | Shelf, counter, or shared display area | Unit width and depth |
| Standard Single Player | Dedicated floor position and player space | Cabinet width, depth, and height |
| Multi-Player | Wider footprint and side access | Overall row width and service access |
| Life-Size / Gigante | Larger footprint and delivery route | Overall dimensions, height, and access path |
Working Space Around Each Machine
The cabinet footprint is only part of the space requirement. Customers need room to stand and play, while staff need access for cleaning, prize loading, y mantenimiento.
Consider these areas when drawing the layout:
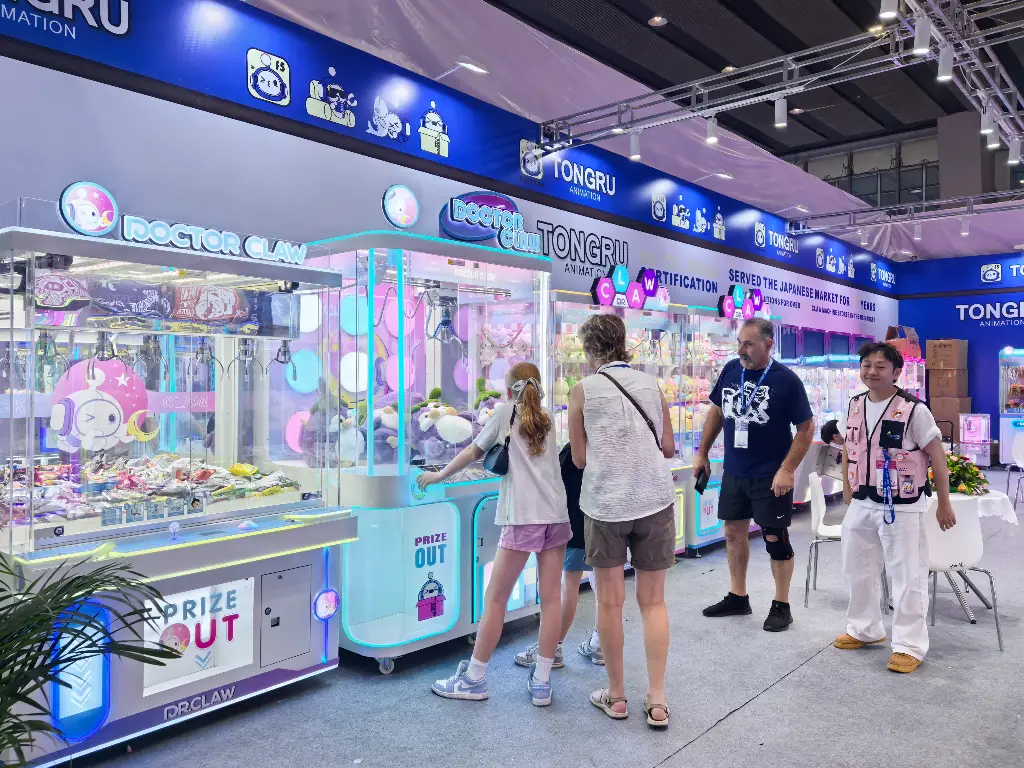
- Player space: Leave enough clear space in front of the glass for a player to operate the machine without standing directly in the main traffic path. Around 60–80 cm can be used as an initial planning reference, then adjusted according to the cabinet design and expected traffic.
- Service access: Avoid placing every cabinet tightly against a wall or another machine. At least one accessible side of each row makes routine cleaning and maintenance easier.
- Main aisles: Around 90–120 cm is a useful planning range for a main aisle, but wider space may be appropriate where players queue, spectators gather, or two-way traffic is expected.
- Queue areas: Popular machines can attract several people at once. Leave additional space around high-traffic machines rather than treating every cabinet as an isolated playing position.
A good floor plan balances machine density with usable customer space. Adding another cabinet is only useful if customers can still move comfortably around the machines.
Ceiling Height and Top-Access Maintenance
Overall room height is only one part of the ceiling check. The more important question is whether there is enough clear space above each machine for loading and maintenance.
A cabinet may fit beneath a standard shop ceiling but still be difficult to service if a duct, sprinkler line, bulkhead, sign, or lighting fixture occupies the space directly above it.
Check these items before finalizing the machine positions:
- Fixed obstructions: Mark ducts, sprinkler pipes, bulkheads, beams, and low lighting fixtures on the floor plan.
- Top access: Confirm how the selected machine opens and how much working clearance is required above the cabinet.
- Decorative elements: Hanging signs, decorative lighting, and other ceiling features should not interfere with machine access.
- Low-ceiling areas: For kiosks, mezzanines, or rooms with suspended ceilings, confirm the exact cabinet height before finalizing the layout.
Do not plan around an obstruction by assuming staff can simply work around it. If the top access is blocked, moving the machine position during the design stage is usually easier than changing the finished fit-out.
Find the Right Claw Machine for Your Space.
Power Drops and Electrical Planning
Estimating Electrical Load
Electrical planning should start with the rated power of the machines being purchased. Claw machine power consumption varies between models depending on the motors, iluminación, sistema de control, and other electrical components.
Instead of applying one assumed wattage to every machine, ask the supplier for the rated electrical information for the selected models. Then calculate the combined load for each planned circuit or zone.
The fit-out team should also consider:
- The number of machines connected to each circuit
- The rated power of each machine
- Local electrical requirements
- Available building capacity
- Future additions to the game area
- Accessibility of sockets and connections
Circuit sizing should be confirmed by a qualified electrician according to the electrical requirements of the venue and local regulations.
The goal is not simply to make the machines work on installation day. The electrical layout should remain practical when the arcade is operating at full capacity.
Where to Place Power Drops
Power points should be planned at the same time as machine positions. Waiting until the cabinets arrive often results in cables running across inconvenient areas or sockets being hidden behind machines.
Common options include:
- Floor boxes: Useful for island layouts where machines are positioned away from walls. They should be planned carefully to avoid creating trip or cleaning hazards.
- Wall outlets: Suitable for perimeter rows when the cabinet position allows the socket to remain accessible.
- Ceiling drops: Can work for certain layouts where power is routed from above, provided the cable route is safely installed and does not interfere with the machines or customer movement.
Mark each power point on the floor plan against the machine or group of machines it serves. The final socket position should remain reachable for inspection and maintenance without requiring a heavy cabinet to be moved.

Floor Loading, Weight and Levelling
The floor needs to support not only the weight of the machines but also the way that weight is distributed across the room.
For most commercial venues, the first step is to obtain the actual machine weight and footprint from the supplier. Then consider the type and location of the floor.
Pay particular attention to:
- Upper-floor venues: Confirm the floor’s rated load capacity with the building or fit-out team before installation.
- Raised or suspended floors: Check the manufacturer’s or building’s load specifications rather than assuming they can support any cabinet arrangement.
- Concentrated rows: A large number of heavy machines placed along one narrow area may require additional review.
- Uneven floors: Adjustable machine feet can help with minor differences in floor level, but significant unevenness should be addressed during fit-out.
If the venue is on an upper floor or uses a suspended floor system, floor loading should be confirmed before the final machine arrangement is approved.
Delivery Access: Check the Route Before Ordering
A machine can fit perfectly inside the arcade and still fail the installation plan if it cannot reach the room.
Before placing the order, measure the complete delivery route:
Loading area → building entrance → lift → corridor → doorway → installation area
Check the dimensions of:
- Loading dock or unloading area
- Building entrance
- Internal doors
- Lift doors and lift dimensions
- Corridors
- Tight turns
- Stairs or ramps
- Final room entrance
Also consider the packaging dimensions and delivery method. A cabinet that fits through the final doorway when unpacked may require more clearance if it arrives packaged or palletised.
This check is especially important for larger multi-player and life-size claw machines. If the route is restricted, the supplier may need to confirm the appropriate delivery or installation arrangement before production.
A Pre-Installation Floor-Plan Checklist
Review the following items with the supplier, electrician, and fit-out team before the order is confirmed:
| Check | Recommended Check | Common Failure |
|---|---|---|
| Measured Room | Scaled plan showing walls, doors, columns, and fixed obstacles | Estimating from an old floor plan or listing photo |
| Machines Placed | Actual cabinet dimensions from the supplier | Using a generic machine size |
| Player Space | Clear area in front of each machine | Players standing directly in the main aisle |
| Aisles Routed | Main traffic routes remain clear | Aisles reduced after adding more machines |
| Top Access Clear | Enough working space above each cabinet | Light, duct, or bulkhead blocking access |
| Circuits Assigned | Machine loads grouped and checked by the electrician | Too many machines sharing an unsuitable circuit |
| Power Drops Marked | Sockets remain reachable | Sockets hidden behind heavy cabinets |
| Floor Capacity Checked | Load capacity confirmed for upper or suspended floors | Assuming every floor has the same capacity |
| Delivery Route Measured | Doors, lifts, corridors, and turns accommodate the equipment | Machine fits the room but not the entrance |
| 2D/3D Layout Reviewed | Final machine arrangement checked before fit-out | Discovering layout conflicts during installation |
A detailed floor plan gives the supplier and fit-out team a common reference before the machines are ordered. For projects with different machine sizes or a more complex venue, sharing the room dimensions and preferred machine mix with the supplier can help confirm suitable models and quantities. Tongru can also provide 2D and 3D layout support based on the selected claw machines, helping buyers check machine positions, spacing, and overall fit before moving forward with the order.
Preguntas frecuentes
How Much Floor Space Should I Allow for Each Claw Machine?
The required space depends on the cabinet size and the room needed for players, circulation, and service access. Plan beyond the cabinet footprint itself and include a clear player area in front of the machine and practical access around the row. Tongru offers claw machines in different sizes, so the final space requirement should be based on the dimensions of the selected models.
Which Claw Machine Size Is Best for a Small Store?
Mini and medium claw machines can make better use of limited floor space, while full-size and giant models require more room. The suitable combination depends on the store dimensions, target machine count, disposición, and customer flow. Tongru offers different machine sizes, allowing buyers to select models that match their available space and project requirements.
What Information Does a Claw Machine Supplier Need for a Floor Plan?
Provide the room length and width, ceiling height, entrances, doors, columns, fixed obstacles, and existing power locations. It is also useful to include your preferred machine types, target quantity, and the location of counters or other equipment. These details help the supplier match the machine mix and layout to the actual venue.
How Do I Check Whether a Claw Machine Will Fit Through My Door?
Measure the complete delivery route, including the building entrance, internal doors, lifts, corridors, turns, and the final entrance to the installation area. Compare these measurements with the machine and packaging dimensions provided by the supplier. This check is especially important for larger multi-player and life-size claw machines, which may require additional clearance during delivery.
Can a Claw Machine Manufacturer Help Choose Machines for My Floor Plan?
Sí. A manufacturer can use your venue dimensions, target machine quantity, and project requirements to help identify suitable machine sizes and combinations. Tongru offers claw machines in different sizes and can provide 2D and 3D layout support based on the selected machines, helping buyers review the proposed arrangement before placing an order.